
Supplies:
8 by 12 Canvas
White Paint
Blue Paint
Foam Brushes
Contact Paper
Cricut w/ George & Shapes Cartridge and Stand & Salute Cartridge
Silver Paint Marker (optional)
1. Paint canvas white; allow to dry. (The canvas comes white but I like it to be painted so that it matches better once the entire project is complete. For mine, I spray painted it because I was trying to cover up a previous project. I wouldn't recommend spray painting it though as it is much harder to paint blue and there will be more paint seepage onto your white letters)
2. Meanwhile, using your Cricut cut out the letters for Keep Calm, Carry On with the George & Shapes Cartridge and an airplane with the Stand & Salute Cartridge on contact paper. I set the size of my letters to 1 1/2 inches a piece.
3. Once canvas is dry align letters on canvas, 1/2 inch from bottom and top and placing the airplane in the middle. Peel off paper layer of contact paper and stick letters and airplane onto canvas, pressing into canvas so that there are no air gaps or places where the paint will seep in.

4. Paint canvas using blue paint until desired look, allowing to dry in between coats. Paint the sides of the canvas as well as the top.
5. Once dry, remove letters.
6. Optional step: Paint white letters with a silver paint marker.

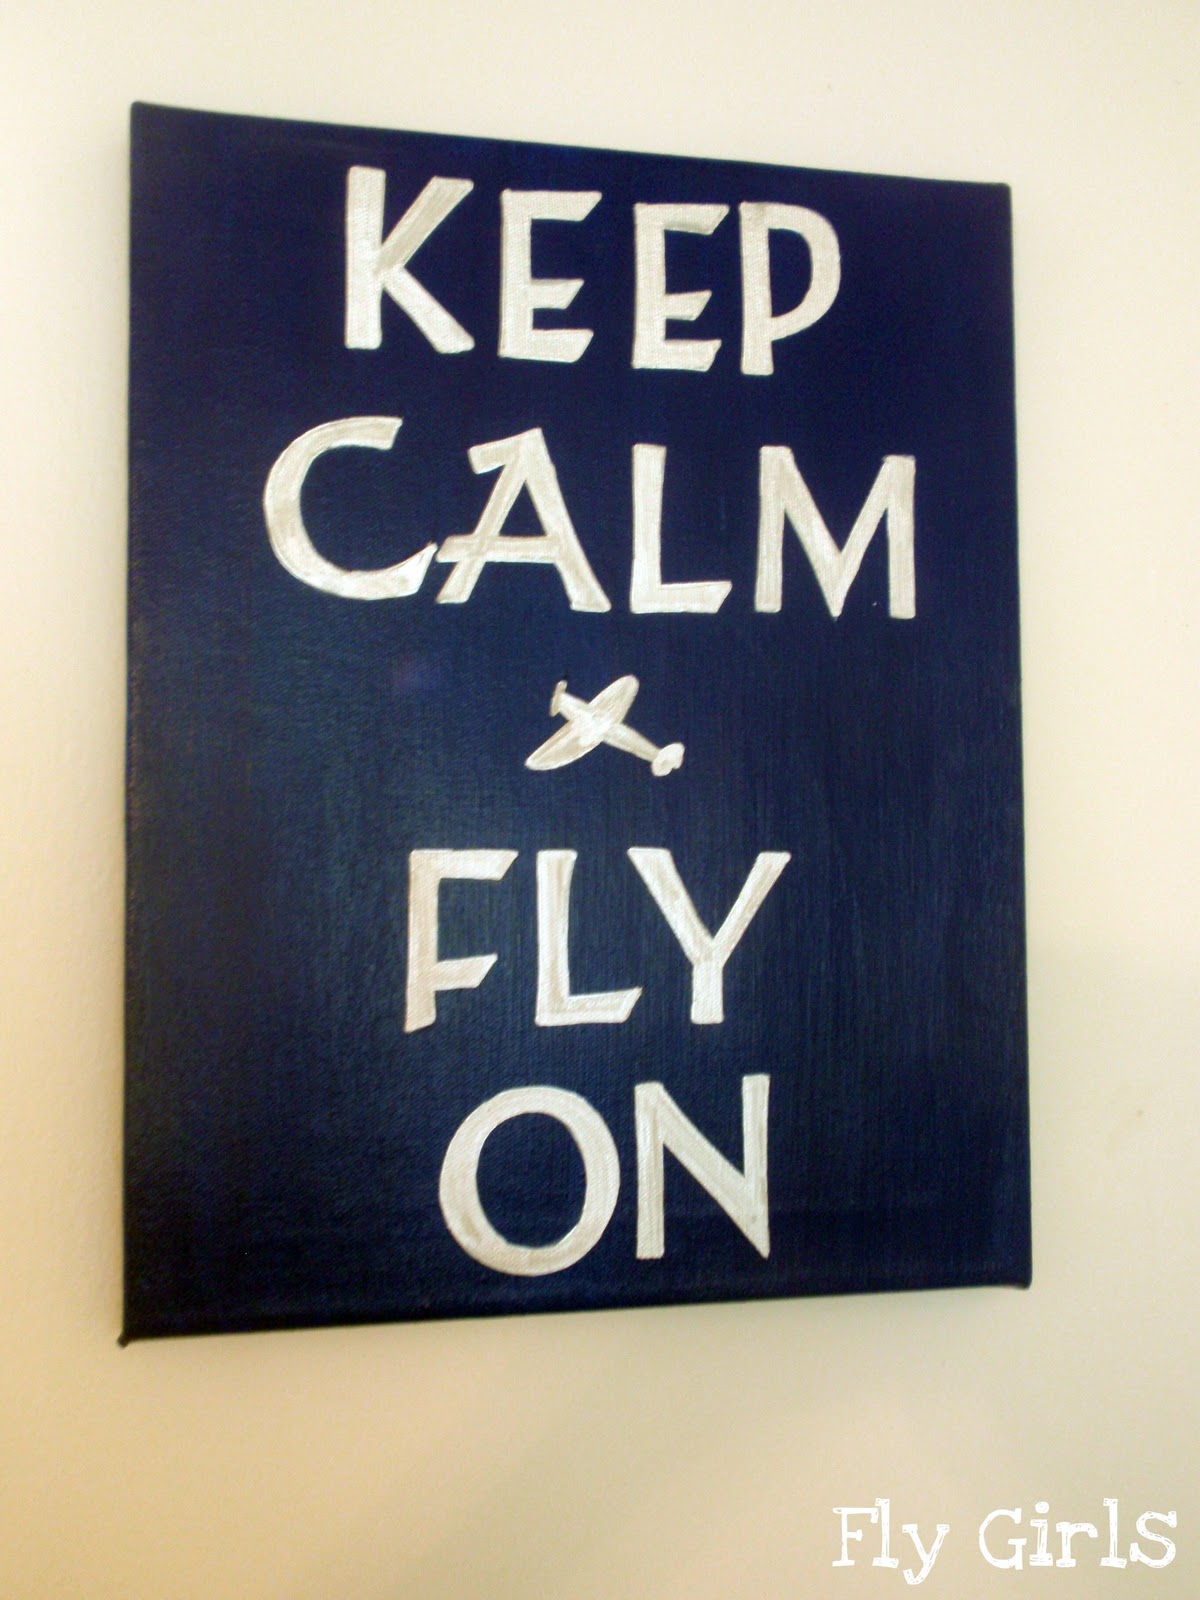
All finished and hanging on the wall. This is a temporary spot for it as we are moving in the near future. Once we move, this will go in the office along with the rest of the plane memorabilia.


No comments:
Post a Comment