I've been wanting to try and applique fabric onto a onesies for a while now and finally got around to it this evening. Usually, I make freezer paper stencils and paint onto oneseis but I wanted to try something new. I've seen some really cute appliques on pinterest. The only thing that I have ever appliqued before was numbers onto a number quilt and it was a tedious task and I wasn't happy with the way that all of them turned out. For my first onesies project, I decided to make an airplane... using the same stencil as I did for the freezer paper stencil. I am happy with the way it turned out although I found it quite difficult to use my sewing machine and sew on only the front side of the onesies. Everything seemed to always be bunched up!
Supplies
onesie
fabric
freezer paper
heat 'n bond
iron
sewing machine
coordinating thread
1. Heat iron to medium low and iron fabric wrong-side up. Apply Heat 'n Bond according to package directions.
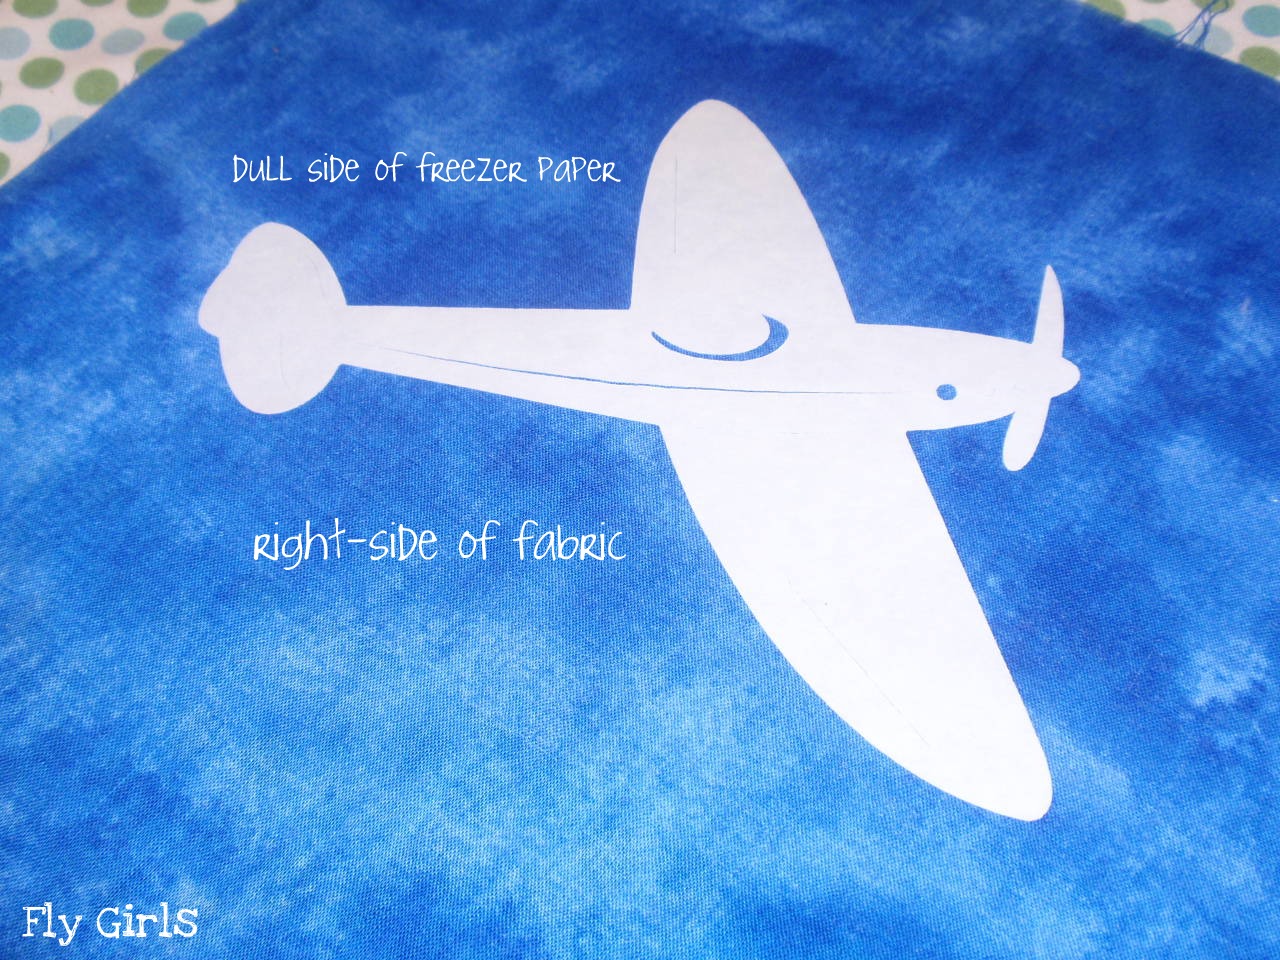
2. Trace your shape/design on the dull side of freezer paper or use your Cricut to cut out the shape. Using your Cricut, you will eliminate having to cut out the shape. If not, cut out your freezer paper shape.
3. Turn fabric over. Iron on freezer paper to right-side of fabric, shiny side down.
4. Cut out shape and remove freezer paper.
5. Iron shape onto onesie in desired location according to Heat 'n bond directions.
6. Sew using a zigzag stitch around the shape, making sure to only sew on the top side of the fabric.
7. Enjoy your newly completed project!
8. Find your favorite model to try it out!
How do you applique? Any tips?


No comments:
Post a Comment